
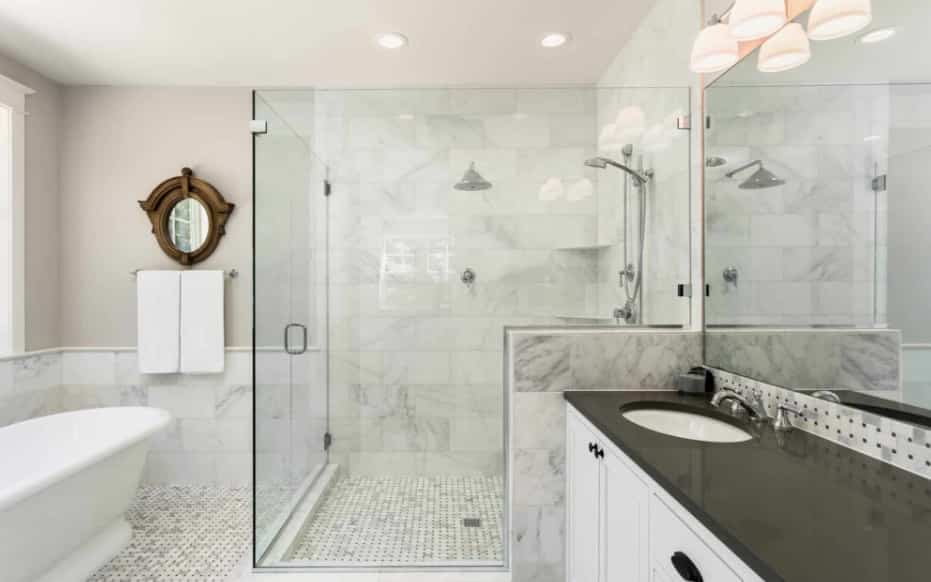
Installing a glass window shower can transform your bathroom into a sleek, modern space while allowing natural light to enhance your shower experience. The installation process requires careful planning and precision, but with the right approach, it can be a straightforward DIY project or a job for professionals.
Here’s a step-by-step guide on how to install a glass window shower.
Planning and Preparation
Before starting the installation, it’s crucial to plan your project carefully. Measure the shower area accurately to ensure the glass panels will fit properly. Decide on the type of glass you want—clear, frosted, or patterned—and choose the appropriate thickness and style for your needs. Ensure that the existing shower area is in good condition and that all surfaces are clean and dry before installation.
Gathering Materials and Tools
For this project, you will need several materials and tools, including glass panels, a shower base, silicone sealant, a drill, and wall anchors. If you’re unsure about the specifics, consult with professionals or visit a home improvement store for advice on the best materials for your glass window shower.
Installing the Frame
Begin by installing the frame for your glass panels. If your shower area doesn’t already have a frame, you’ll need to attach one to the existing walls and floor. Use a level to ensure the frame is perfectly vertical and horizontal, and secure it with screws and wall anchors. Ensure the frame is sturdy and properly aligned to support the weight of the glass panels.
Fitting the Glass Panels
Once the frame is securely in place, it’s time to install the glass panels. Carefully lift each panel into position within the frame. You may need assistance to handle the heavy glass safely. Ensure the panels fit snugly into the frame and make any necessary adjustments before securing them. If you’re not confident in handling the glass yourself, consider hiring experienced shower glass installers to ensure a precise fit and finish.
Sealing and Finishing Touches
After the glass panels are installed, apply silicone sealant around the edges to prevent water leakage. Smooth the sealant with a caulking tool for a clean finish. Allow the sealant to cure as per the manufacturer’s instructions before using the shower.
Installing a glass window shower can enhance the elegance and functionality of your bathroom. By following these steps or consulting with professionals, you can achieve a stylish and effective shower setup that allows natural light to brighten your space. Enjoy the modern, luxurious feel of your new glass window shower and the benefits it brings to your home.