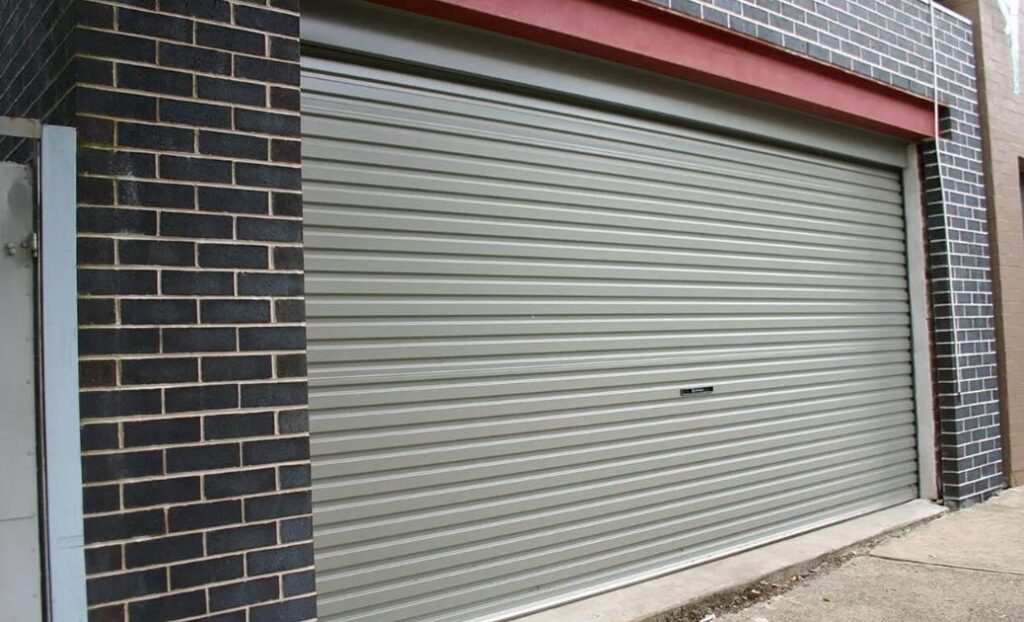
Installing a roller door can enhance both the security and aesthetics of your property. This guide will walk you through the roller door installation process, ensuring a smooth and efficient setup.
Follow these steps to achieve a professional finish:
Step 1: Gather Your Tools and Materials
Before beginning the installation, collect the necessary tools and materials. You will need:
- A tape measure
- Level
- Drill and drill bits
- Screwdriver
- Roller door kit (includes the door, tracks, and fittings)
- Safety goggles
- Work gloves
Ensure you have everything ready to avoid interruptions during the installation.
Step 2: Measure the Opening
Accurate measurements are crucial for a successful installation. Measure the width and height of the opening where the roller door will be fitted. Take measurements at multiple points to ensure consistency. If there are any irregularities, adjust your measurements accordingly. These measurements will determine the size of the door and the required track lengths.
Step 3: Prepare the Opening
Clean the area where the roller door will be installed. Remove any debris, old fittings, or obstructions. Check that the wall is level; if not, use shims to correct any discrepancies. This step is essential for ensuring that the door operates smoothly once installed.
Step 4: Install the Tracks
Start by fixing the tracks to the top of the opening. Use a level to ensure they are straight, then mark the drill holes. Drill the holes and secure the tracks using the screws provided in your roller door kit. Make sure the tracks are firmly anchored, as they will support the weight of the door.
Step 5: Assemble the Roller Door
With the tracks in place, it’s time to assemble the roller door. Follow the instructions included in your kit carefully. Attach the roller mechanism to the door, ensuring that it moves freely along the tracks. This step is crucial for the door’s functionality.
Step 6: Hang the Roller Door
Lift the door into position, aligning it with the tracks. It may require assistance, as roller doors can be heavy. Once in place, slide the door into the tracks and check for smooth operation. Adjust as necessary to ensure it rolls effortlessly.
Step 7: Final Adjustments and Testing
Once installed, test the door multiple times to ensure it operates smoothly. Make any final adjustments to the tracks or rollers if needed. Secure all screws and fittings, ensuring everything is tight.
Following this step-by-step guide will help you complete your roller door installation with confidence. By paying attention to detail and taking your time, you can achieve a secure and functional door that enhances your property. Happy installing!

